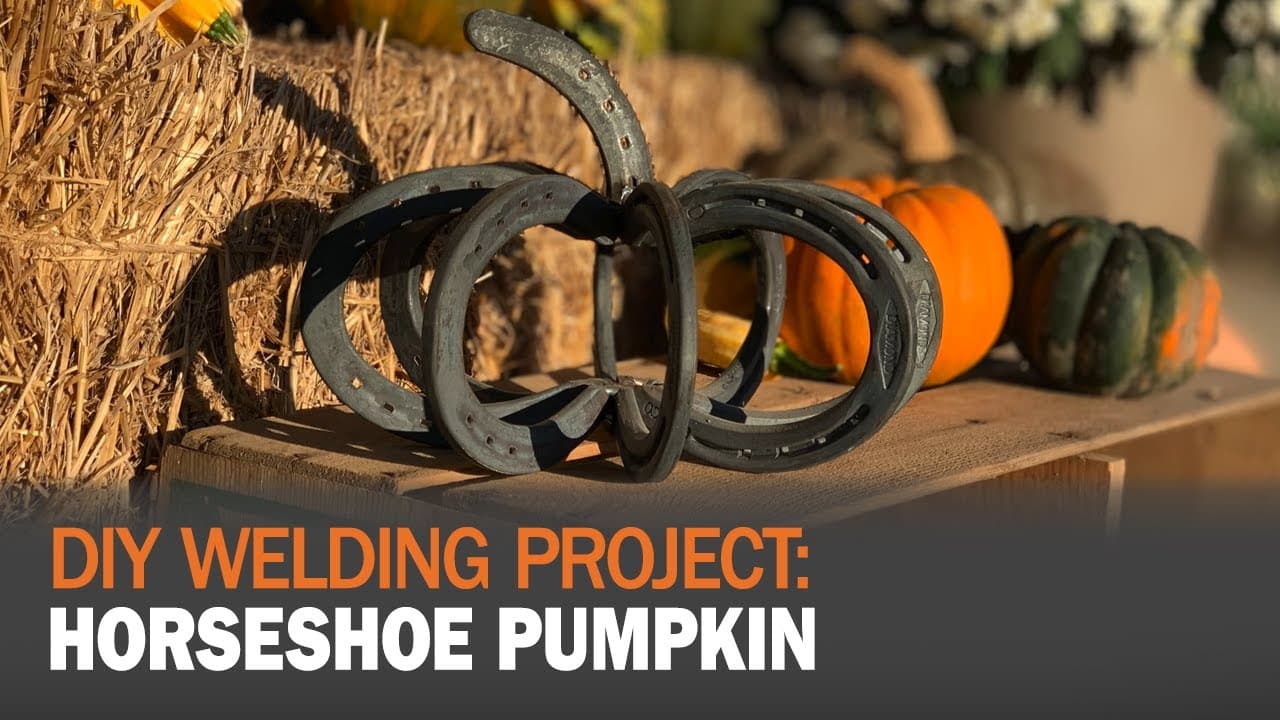
How to MIG Weld a Horseshoe Pumpkin

Hobart logo Trademark Logo Updated JPG
Sign In
How to Make a Horseshoe Pumpkin

How to Make a Horseshoe Pumpkin

How to MIG Weld a Horseshoe Pumpkin

Follow step-by-step instructions on how to weld a horseshoe pumpkin using the Handler® 210MVP™ MIG Welder.

Tools and Materials Needed:


  • Handler® 210MVP™ MIG Welder
  • Angle grinder with cut off wheel
  • Clamp
  • Magnet
  • 9 horseshoes – Bronco size #1

Horseshoe Pumpkin Project Plans

Download
  • Handler 210MVP

    Handler® 210MVP™ MIG Welder

    Dual-voltage 120V/240V MIG welder.24 ga to 3/8 in. steel. Includes gun and MVP plugs.

  • Halloween porch with two sheet ghosts and a pumpkin resting on a black spider-shaped stand by the front door.
    Project

    How to MIG Weld a Giant Spider

  • Horseshoe Pumpkin
    Project

    How to MIG Weld a Horseshoe Pumpkin

  • motorcycle project guide
    Project

    How to MIG Weld a Scrap Metal Motorcycle

  • Step 8 American Flag Project
    Project

    How to MIG Weld an American Flag

  • Bird Sculpture Project Guide
    Project

    How to Weld a Bird Sculpture

  • Decorative Snowman
    Project

    How to Weld a Decorative Snowman

  • White wreath above a black fireplace, flanked by welded metal snowflake and reindeer decorations against a brick wall.
    Project

    How to Weld a Rebar Snowflake

    Turn rebar pieces into a welded snowflake for your holiday display. Watch Braden Cowell, welding engineer at Hobart, arrange the pieces, weld the connections with the Handler® 210i and grind the finished snowflake.

  • Sunflower Yard Art Project Guide
    Project

    How to Weld Sunflower Yard Art

Connect With Us

Subscribe to Hobart News

Sign Up
Cookie Policy
Privacy Policy
Terms of Sale
Terms of Use

© Hobart Welding Products